


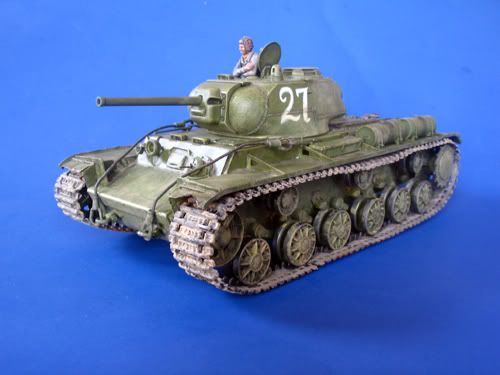
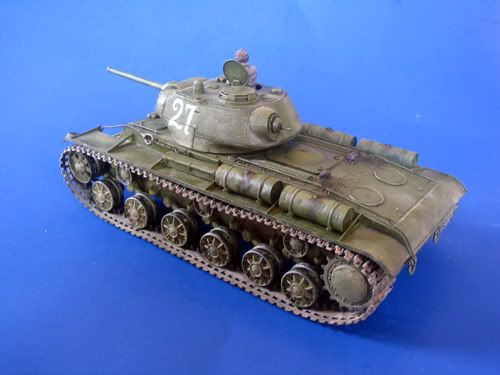
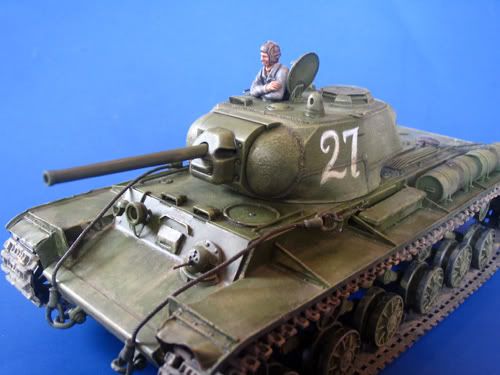
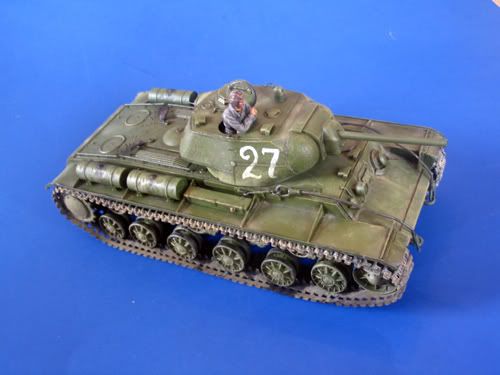
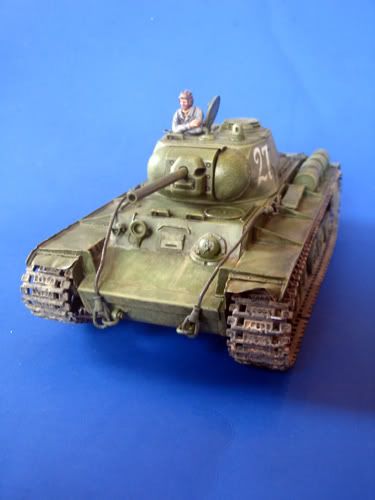
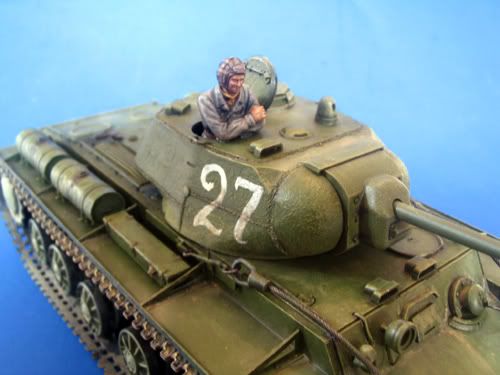
This model was started a very long time ago but I didn’t get very far with it. This is the old Dragon/DML kit. I bought just after it came out, I that tells you anything.
This model was started a very long time ago but I didn’t get very far with it. This is the old Dragon/DML kit. I bought just after it came out, I that tells you anything.


 |  |  |  |
 |  |  |  |


 Handles are made from copper wire. The casting numbers came from the spares box from an accessories sprue for a 54mm figure. They are not 100% accurate but add interest to the turret.
 I noticed a seam that will have to be fixed after applying the texturing. When I test fitted the mantlet it had a significant diagonal skew. Twisting didn't bring it in line so I ended up cutting the attachment point right off, glued it to the mantlet then re-attached at the correct angle. You might also be able to make out the casting number which was added from a Historex detail sprue from the spares bin.
 For the stowage bin I wanted to try to recreate the clasps for the lids. This was done with a combination of plastic strip, fine wire and bits of sprue. The bin itself needed some super-glue seam filler and sanding. I also added a few dents and dings. You might notice in the picture above that the pistol port is inverted. I popped it off and glued it the right way around.
 For the smoke grenade launchers, I really wanted to add some wiring detail. The Italeri part consists of bracket, launcher holder and individual tubes. First I hollowed out the tubes and then bent the launcher holder tabs to more or less the angles seen in pictures of the real thing. At the rear of each launcher I glued a small bit of round plastic sliced from a piece of stretched sprue. When the glue was set I drilled a small hole in each to run the wires through and tacked them down with super-glue. A short piece of thicker copper wire was used to complete the connection through the turret roof.
 As I've said, I'm not a Tiger officianado but it seems to me that the Italeri kit has features more common to a Jan/Feb '43 production vehicle rather than an early version. One of of the major changes required was to add the escape where the right side pistol port is.
 This was a bit of of a challenge. I cut the hatch out of plastic card and carefully sanded it to what looked to me to be reasonably circular. I then cut the hole in the turret all the while checking the fit. The hole didn't come out too clean - the edges should have been straight but they came out tapered in places and gappy. I've tried to fix this with filler. I have a bit more work to do here.
 The join of the turret roof needed some filling and sanding especically towards the mantlet on both sides. I went over the welds with a hot knife that I picked up at a craft store.
 This angle shows some more of the details added to the copula and hatch. The inside of the hatch is not the greatest but I'm hoping it won't be too bad once the commander is in place.


