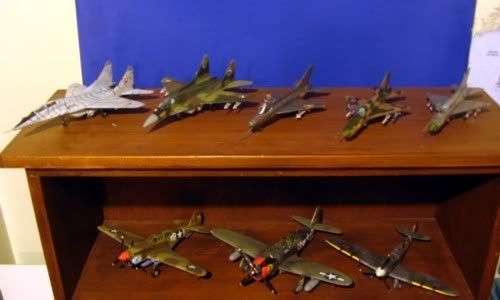
I'm trying really hard to like this kit. I've read a lot of negative comments about Hobbycraft in general but I've built a couple of their 1/48 kits and thought they were alright. The level of detail may not be on par with Tamigawa but the builds were fun with no major issues and a lot of room to add details as I saw fit. However this kit has a bit of a split personality. In some cases the fit is near perfect while in others the gaps are huge!
Here is the upper and lower halves of the tail section glued together - you couldn't ask for a better join.
 Now here is the gap between the front and back halves - wow.
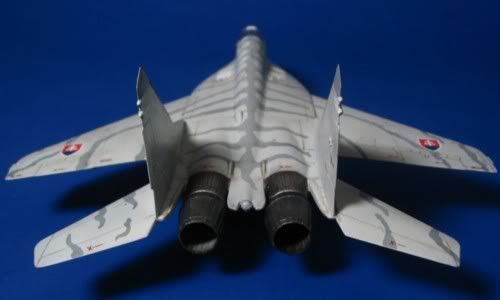
 Also I'm not an expert on the F/A-18 but I'm pretty sure there aren't wedge shaped gaps in the underside just forward of the air intakes. What were they thinking here?
 Some thin plastic wedges should do the trick. I'm also using plastic rod to fill in some of the other gaps.
 To fill the large gap behind the nose section I've started out by gluing a piece of thin plastic to back end. The underside gap is larger so another wedge of plastic will be needed once the halves are joined.
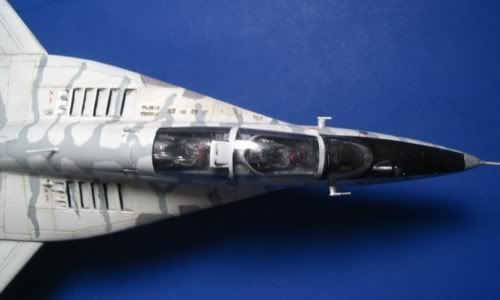
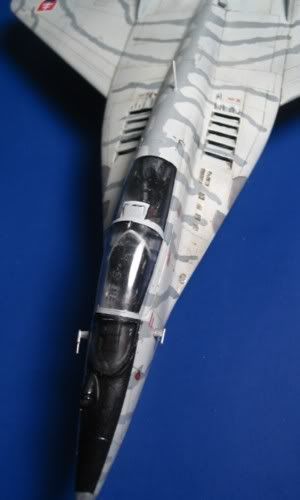
 While I am not planning to make this the "perfect" CF-188 I did remove some bumps not present on the Canadian version and added the quintessential Canadian feature - the starboard side searchlight. This is present on all CF-188s but is sometimes faired over. The plane this model represents actually has the searchlight in place. This was a fairly simple matter of drilling a hole, thinning the plastic on the inside and inserting a clear plastic lens. I also glued a small piece of tin foil inside the hull to finish the effect.
GB